Voice UI
Magec ships with a built-in voice interface that runs in any browser. Talk to your agents, read their responses, switch between conversations — all from your phone or desktop. It’s designed to feel like a native app, not a web page.
The Voice UI is a Progressive Web App (PWA), which means you can install it on your phone and it gets its own icon, full-screen experience, and works like any other app. No app store needed.
Pairing #
The first time you open the Voice UI, it needs to connect to your Magec server. Enter the token from your client configuration and the UI pairs with the API. Once paired, the token is stored locally and you won’t need to enter it again.
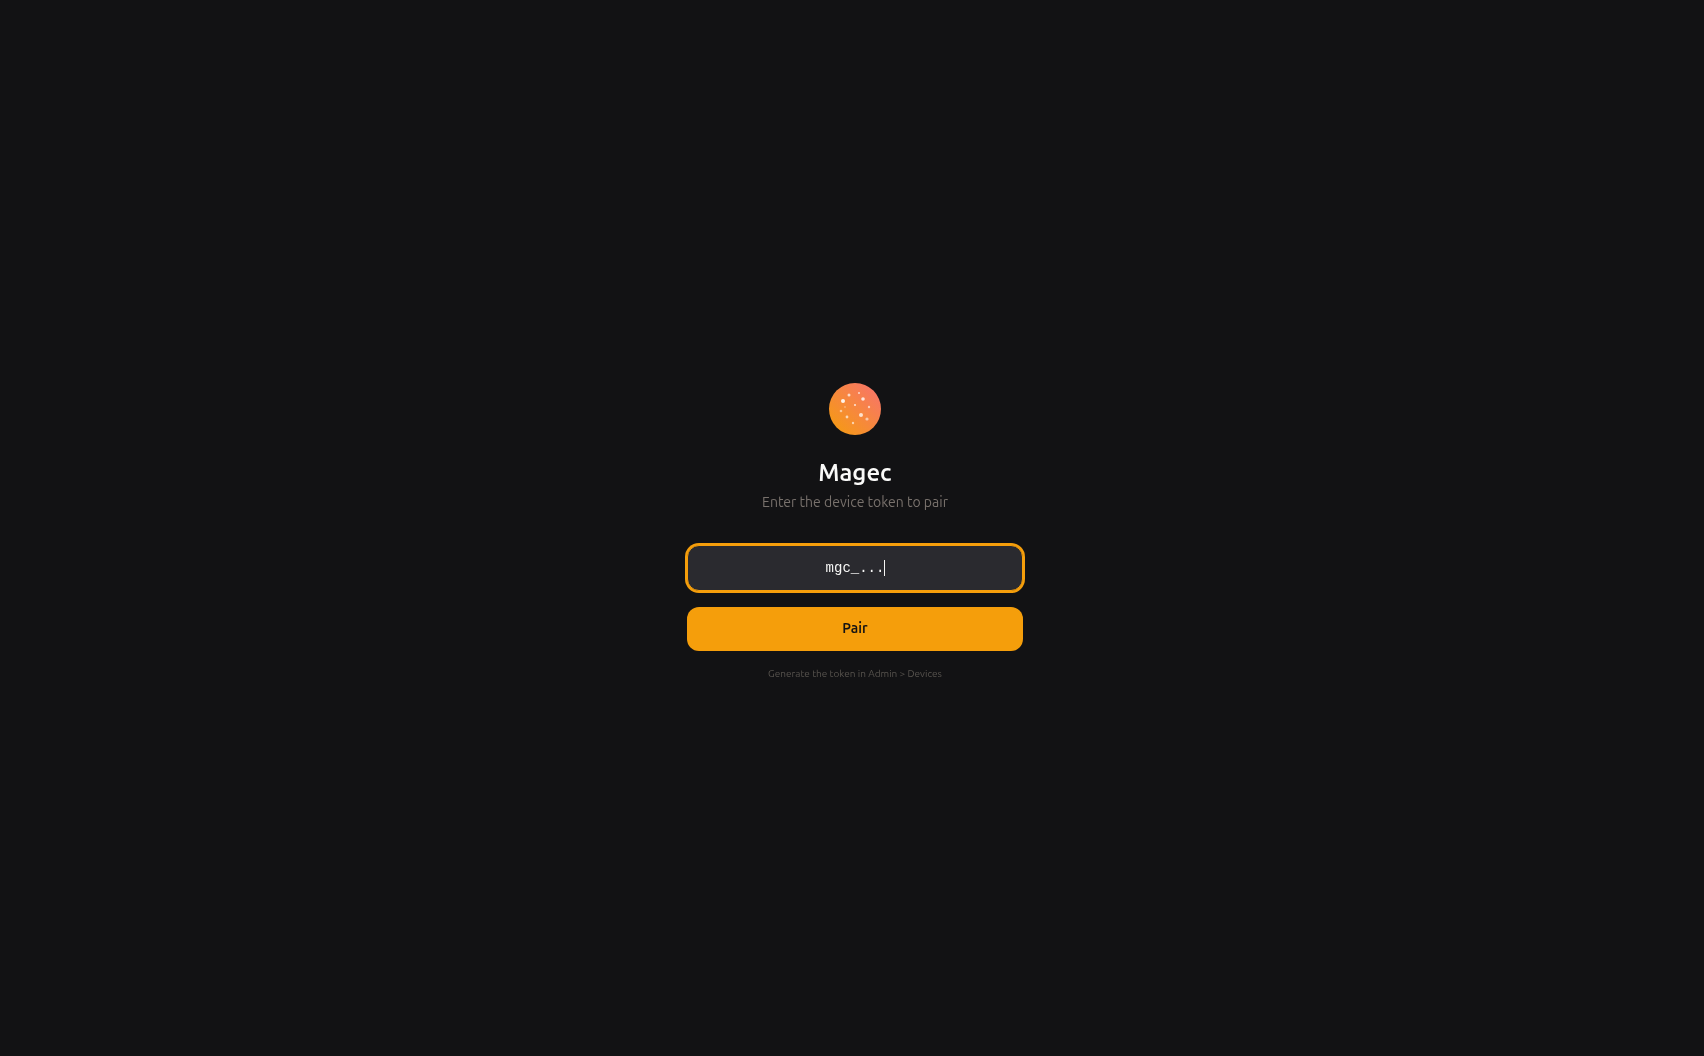
You can find the token in the Admin UI under Clients. If you used the installer, a Voice UI client was already created for you.
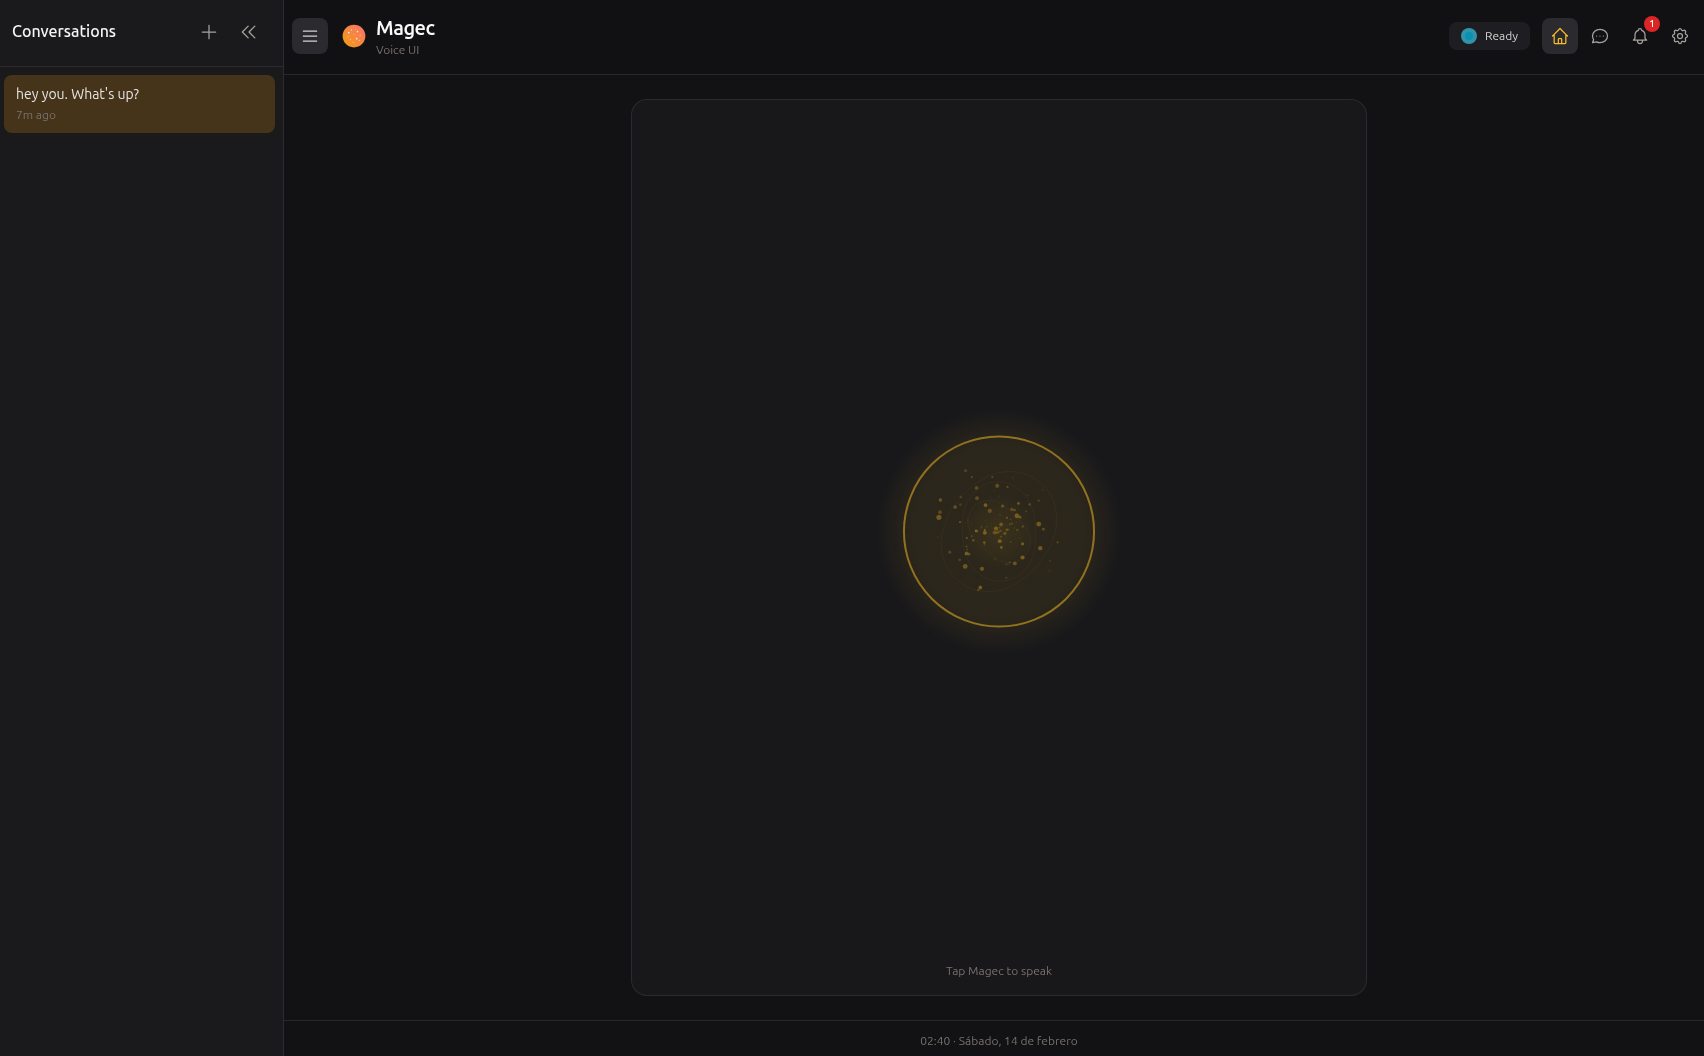
Home #
The home screen is where every conversation starts. Front and center is Magec — an animated orb inspired by the god of the Sun worshipped by the ancient people of the Canary Islands.
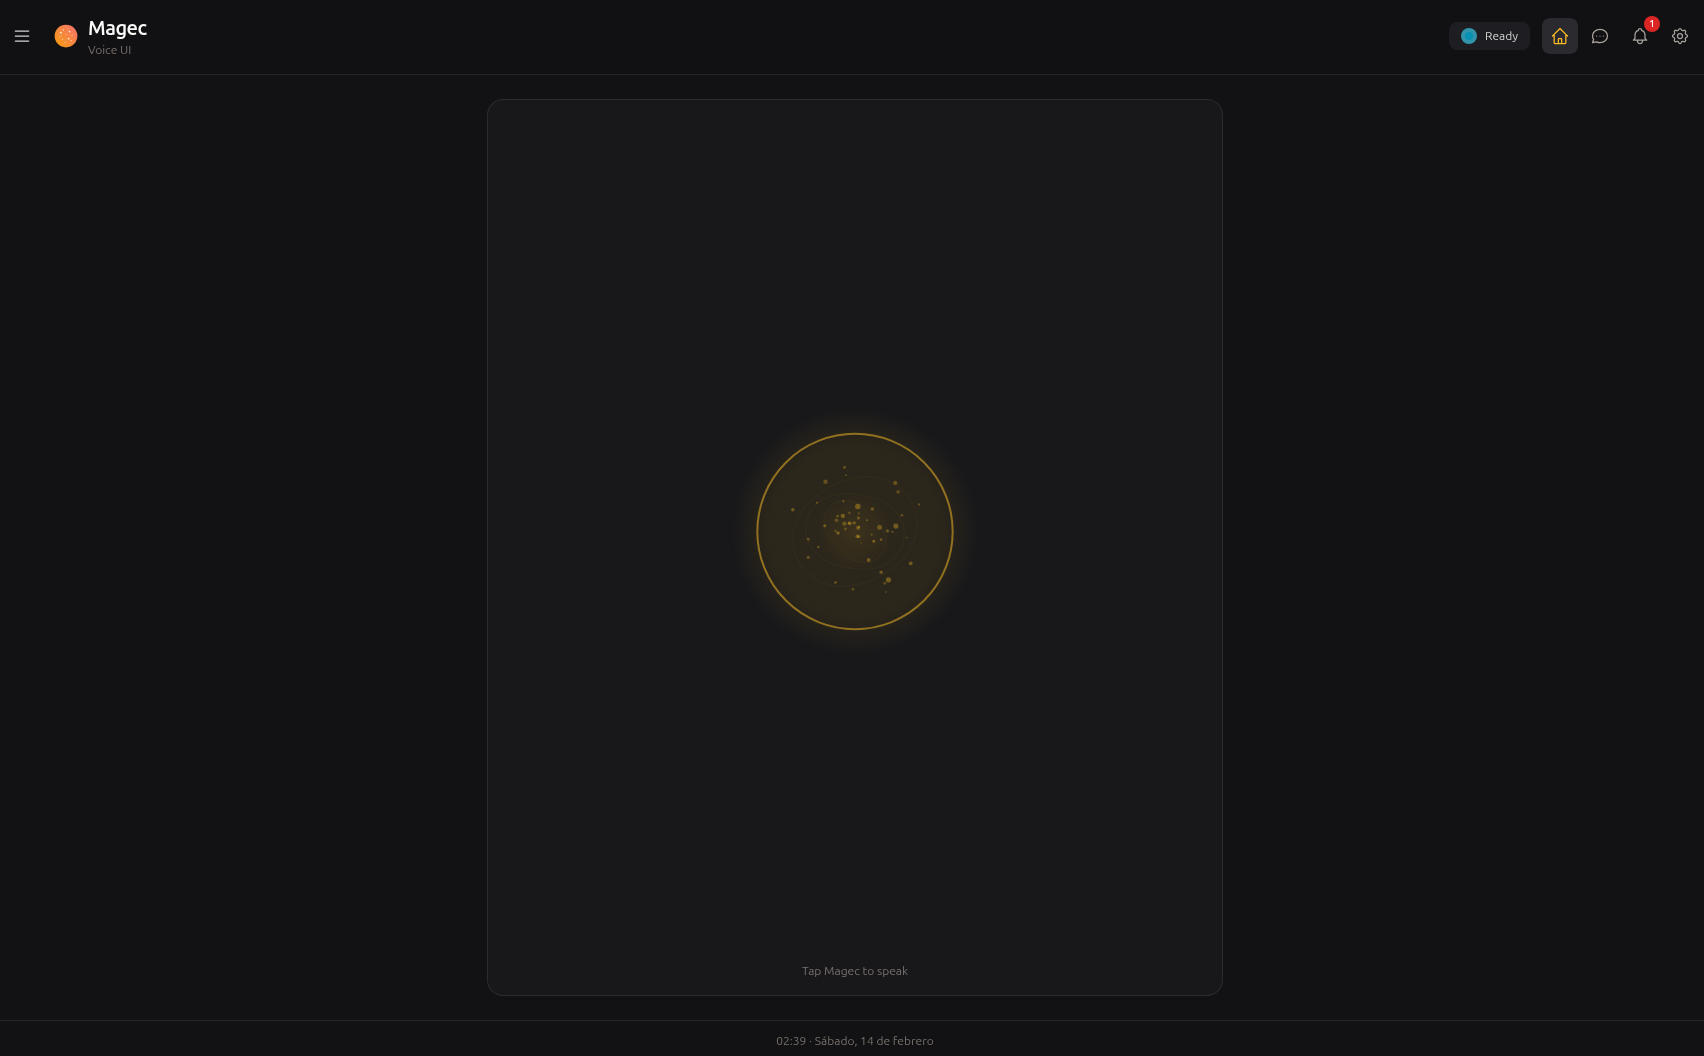
There are two ways to start talking:
- Wake word — Say “Oye Magec” and the system starts listening automatically. The wake word is detected server-side using custom ONNX models, so it works even in noisy environments.
- Push-to-talk — Tap the microphone button and speak. Release (or tap again) to send.
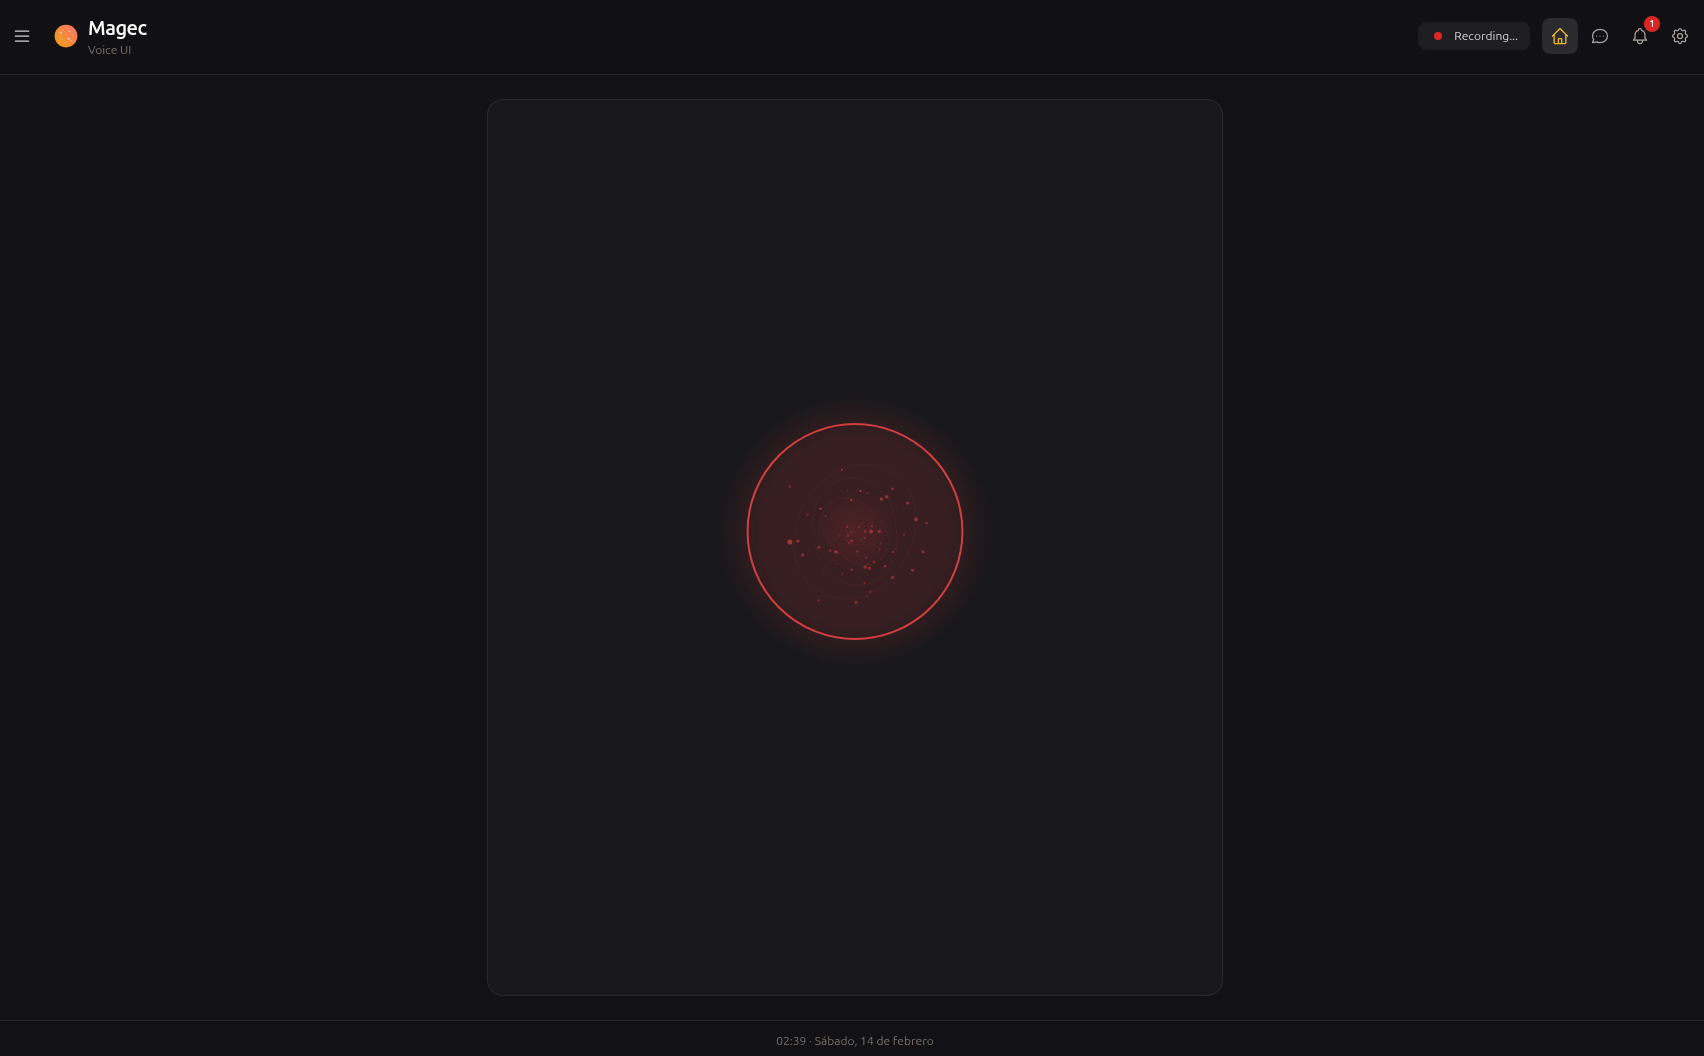
When idle, the orb breathes gently in gold. When you’re recording, it pulses red and its particles follow your voice waveform. This isn’t just decoration — it gives you immediate visual feedback that the system is actively listening.
Chat #
Every conversation is stored and browsable. You can read back what was said, see both your messages and the agent’s responses, and pick up where you left off. The chat view shows the full text of each exchange.
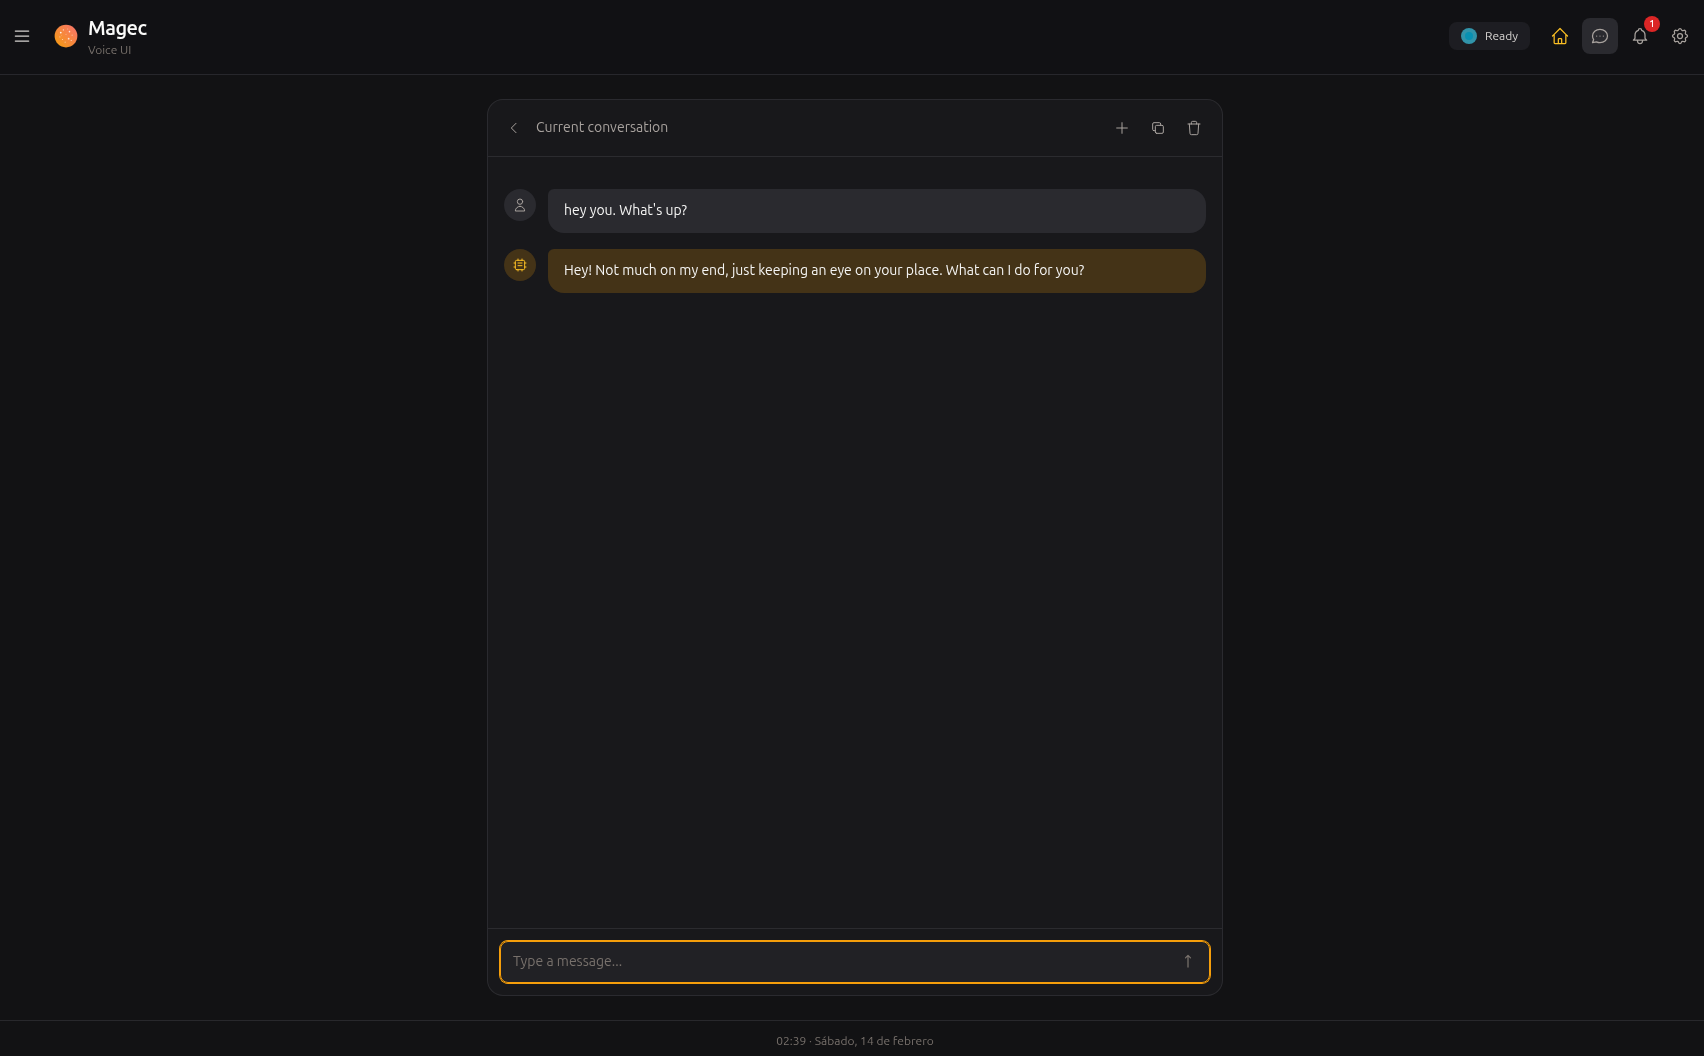
When the agent responds, you hear the response spoken aloud (if the agent has TTS configured) and see the text in the chat simultaneously.
Conversation history #
The sidebar lets you manage multiple conversations. Create new sessions, switch between them, or delete old ones. Each session keeps its own context, so you can have parallel conversations with different agents about different topics.
Sessions are tied to the agent or flow you’re using. When you switch agents, you get a separate set of sessions for that agent.
Agent switching #
The agent switcher lets you change which agent (or flow) you’re talking to. It shows all agents and flows that your client token has access to.
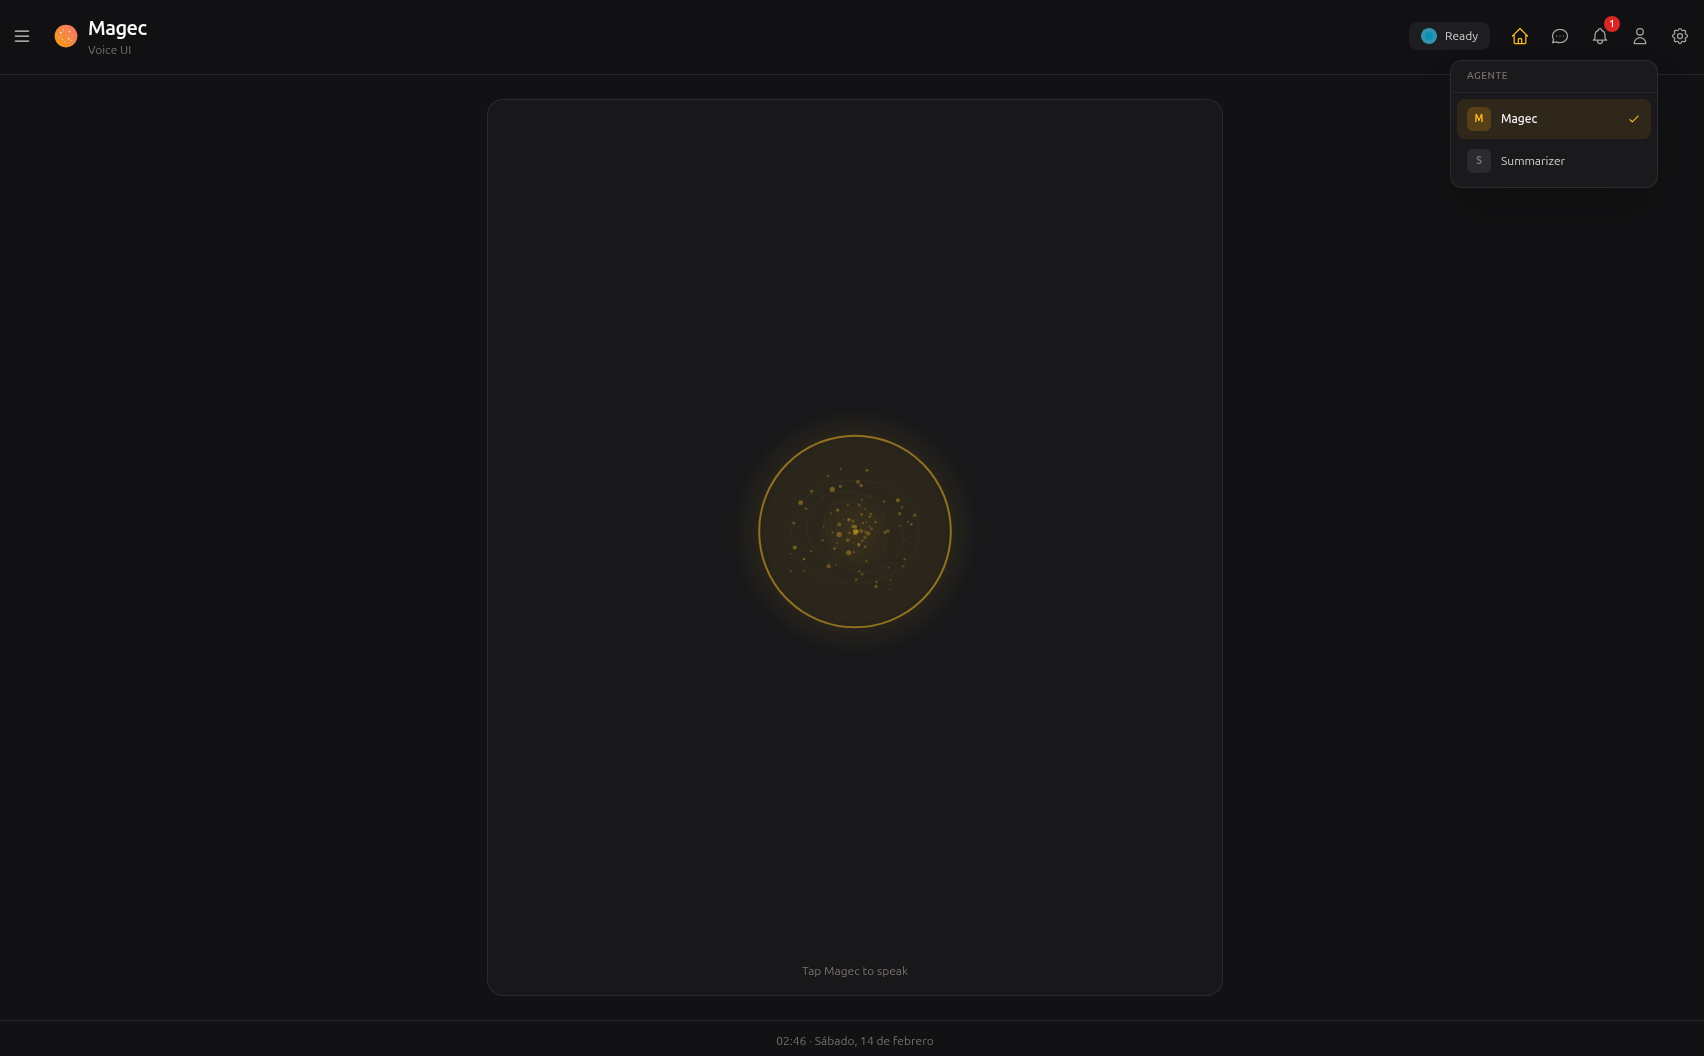
For single agents, selecting one switches your conversation to that agent. For flows, selecting one activates the entire multi-agent pipeline — your messages enter the flow and the response comes from the flow’s processing.
Spokesperson (for flows) #
When you select a flow, a new concept appears: the spokesperson. Since a flow contains multiple agents, someone needs to be “the voice” — the agent whose TTS configuration is used to speak responses, and whose STT configuration is used to transcribe your voice.
The agent switcher shows the flow’s agents and lets you pick the spokesperson. By default, it’s the first response agent in the flow. You can change it at any time.
This is useful when different agents in a flow have different voices. The “manager” agent might have a professional voice, while the “creative” agent has a more casual one. You pick who speaks based on the situation.
Settings #
The settings panel lets you configure your Voice UI experience:
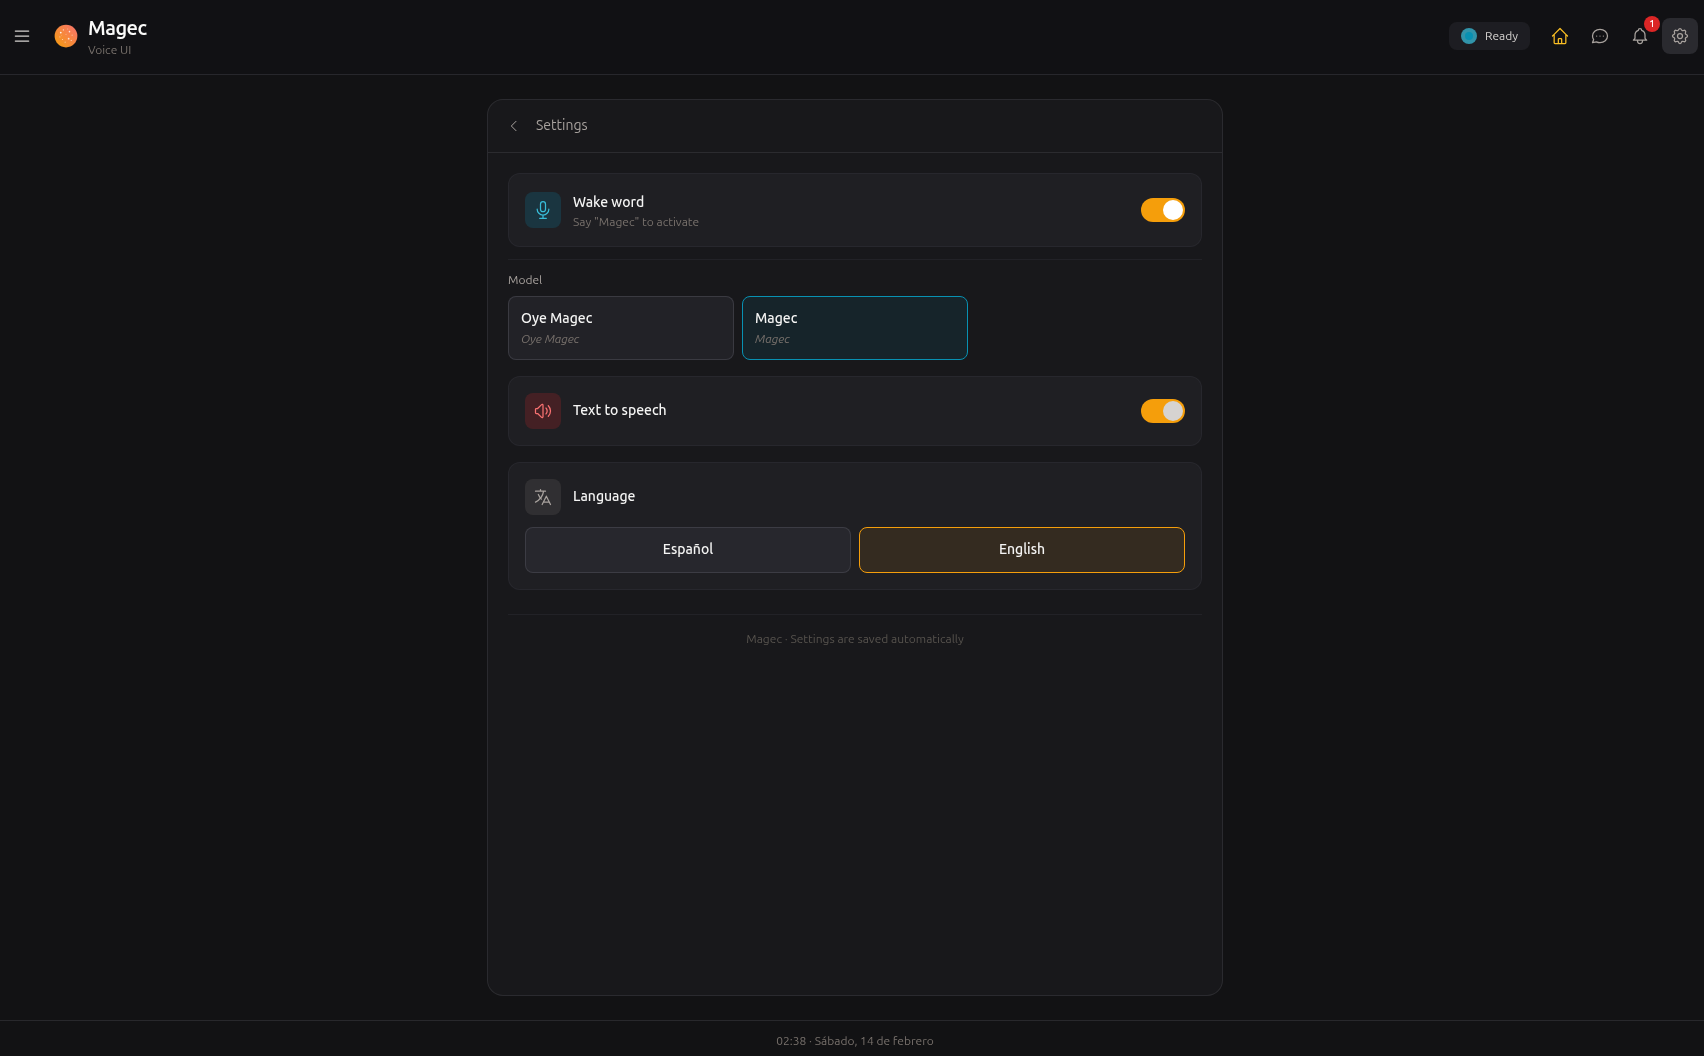
- Language — Switch between Spanish and English for the UI interface
- Agent — Quick access to the agent switcher
Your preferences (selected agent, spokesperson, language) are saved locally and persist between sessions.
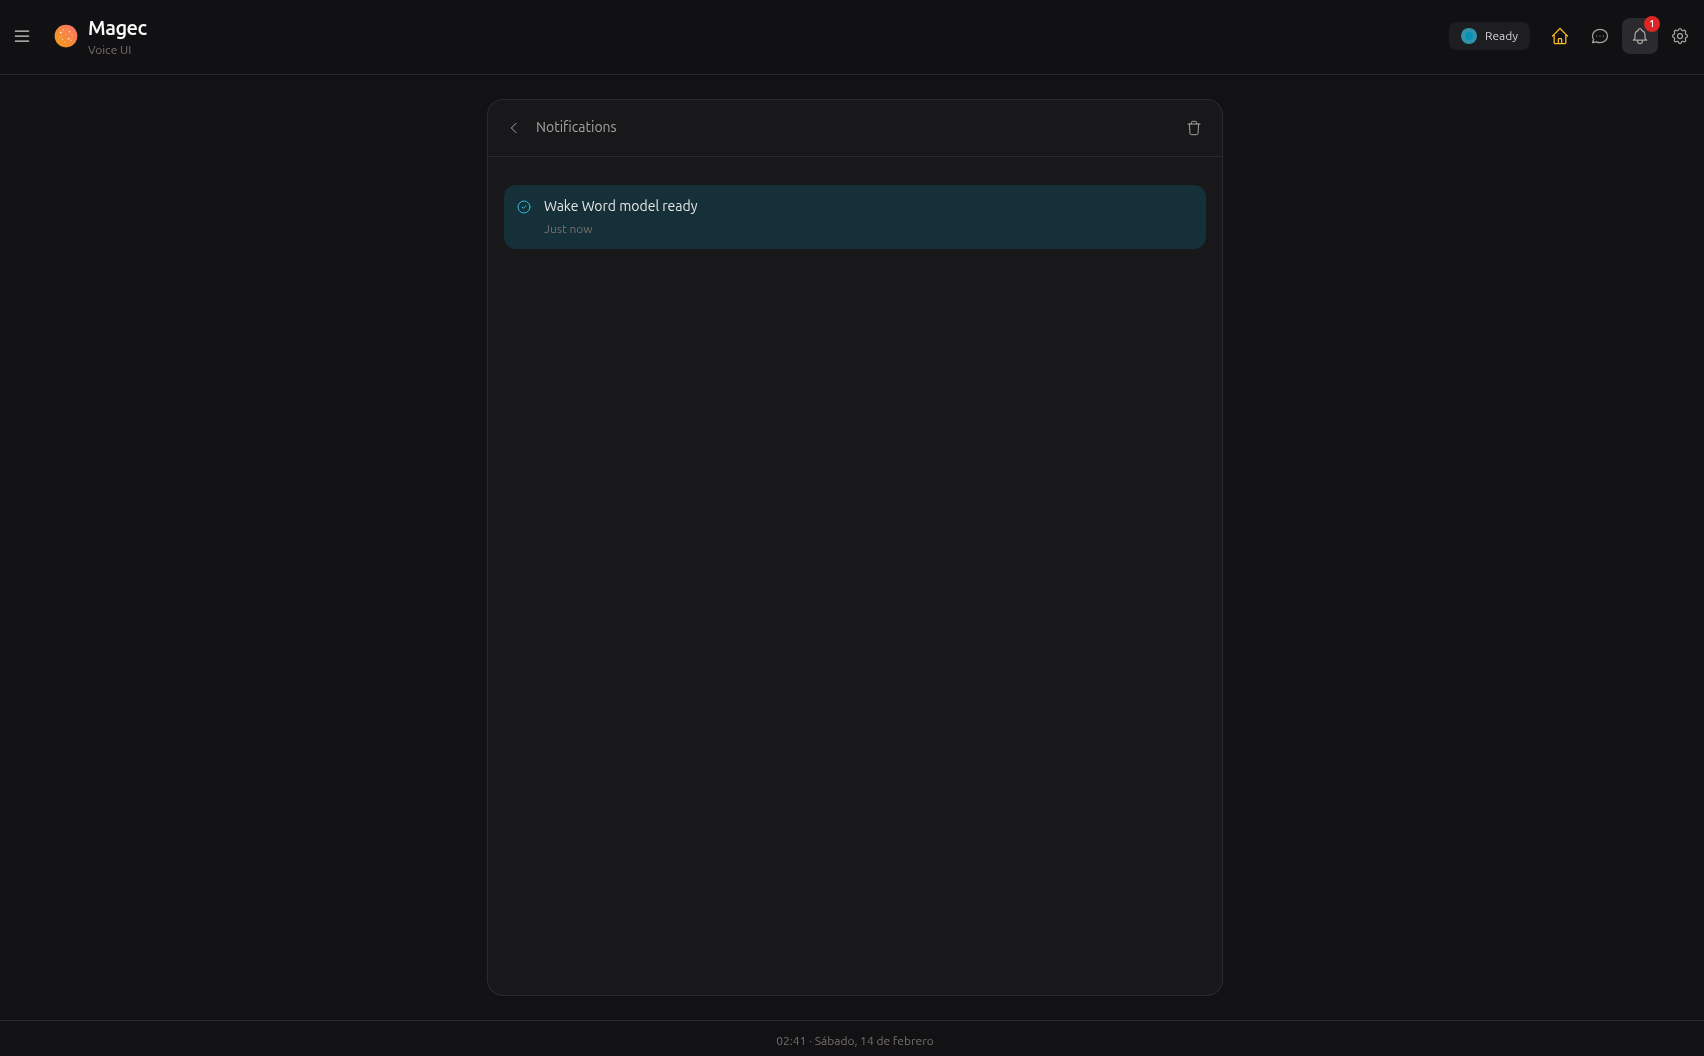
Notifications #
System events and status updates appear as notifications — connection changes, errors, configuration warnings, and other things worth knowing about.
Install as an app (PWA) #
The Voice UI is a Progressive Web App. Install it on your phone or tablet and it looks and feels like a native app — full screen, its own icon, no browser chrome. This is particularly useful for dedicated setups like a voice tablet on your desk or at a front desk.
- Android: Chrome → Menu (⋮) → “Install app”
- iOS: Safari → Share (□↑) → “Add to Home Screen”
chrome://flags/#unsafely-treat-insecure-origin-as-secure, add your server URL (e.g., http://192.168.1.100:8080), and restart Chrome.How voice works under the hood #
The Voice UI communicates with the server through two channels:
- REST API — For sending messages, receiving responses, managing sessions, and voice synthesis (TTS) / transcription (STT)
- WebSocket — For real-time audio streaming, wake word detection, and voice activity detection (VAD)
When you speak, the browser captures audio and streams it to the server over WebSocket. The server runs wake word detection and VAD using ONNX models, then signals the UI when speech starts and stops. The captured audio is sent for transcription via the agent’s STT backend, and the text response is sent back for TTS synthesis via the agent’s (or spokesperson’s) voice configuration.
All audio processing (wake word, VAD, resampling) happens server-side. The browser just captures and plays audio. See Voice System for the technical details.